3.6 KiB
RubyMotion-Pixate
Pixate gem for RubyMotion.
Requirements
- RubyMotion 1.0 or greater (see http://www.rubymotion.com).
Setup
- Download the Pixate Framework package from http://www.pixate.com/ and copy the
PXEngine.frameworkfolder intovendordirectory (or alternatively just create a symbolic link). Create thevendordirectory if it does not exist. You should have something like this.
$ ls vendor/PXEngine.framework
/Headers/   PXEngine   Resources/ Versions/
- Edit the
Rakefileof your RubyMotion project and add the following require lines.
require 'rubygems'
require 'motion-pixate'
- Still in the
Rakefile, set up theuser,keyandframeworkvariables in your application configuration block. For the free version of the Pixate Engine,userandkeyare not required.
Motion::Project::App.setup do |app|
  # ...
  app.pixate.user = 'USER ID'
  app.pixate.key  = 'KEY CODE'
  app.pixate.framework = 'vendor/PXEngine.framework'
end
- Create the
default.cssinresourcesdirectory.
Note: To install the motion-pixate gem, see the RubyGems site.
Example
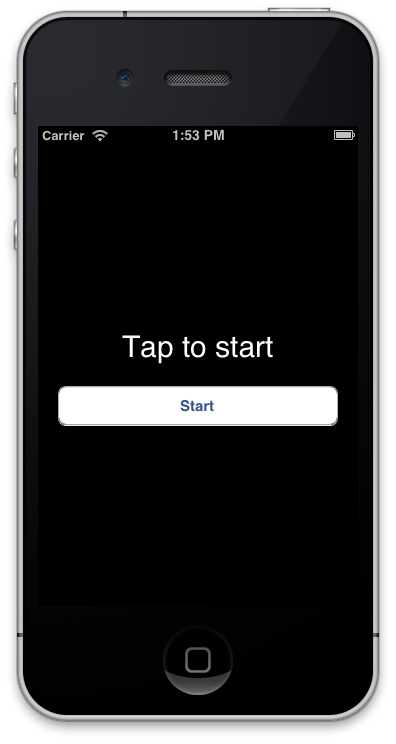
We'll take the Timer example that comes with RubyMotion and add Pixate and quickly style the application. Start by following the Setup steps above to add Pixate to the Timer project.
Type rake to make sure everything is good so far. You should see the Timer app running.
Add the CSS File
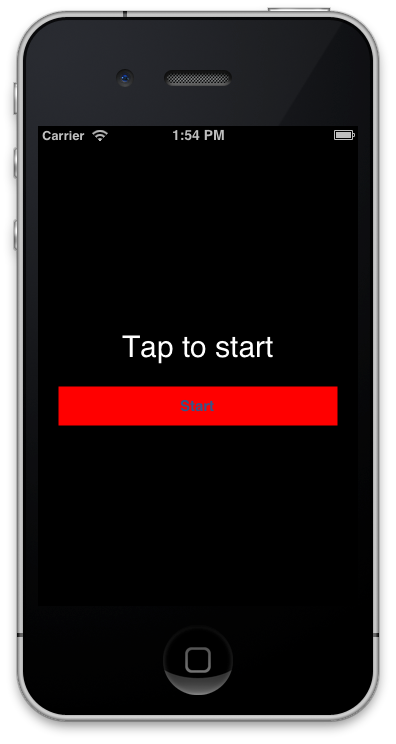
In the default.css file you added prior, let's add a simple entry:
	button {
		background-color: red;
	}
Rake again and you should see this:
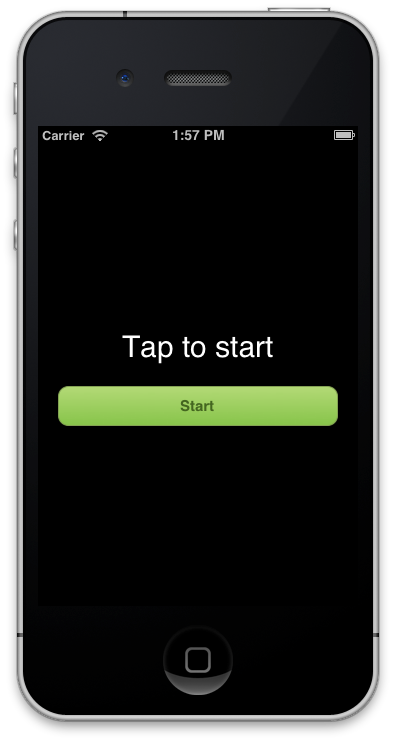
Let's pretty this button up with the following CSS:
	button {
		color            : #446620;
		background-color : linear-gradient(#87c44a, #b4da77);
		border-width     : 1px;
		border-color     : #84a254;
		border-radius    : 10px;
		font-size        : 15px;
		font-weight      : bold;
	}
Rake again and you should see this:
Add a Styling ID
Lastly, let's change the background color. Let's add an ID to our background view. In the timer_controller.rb file, add the following line before the end of viewDidLoad:
view.styleId = 'myView'
What's we've done here is add a styleId to the view so we can style it by name. Now add the following CSS after your button CSS that was already added:
	#myView {
		background-color: linear-gradient(#000000, #f2f4f6);
	}
Now you have a beautiful interface with just a few lines of CSS!

SASS
Pixate gem supports Sass to generate the stylesheet. Create the sass directory and default.scss with the rake pixate:init command. Then, rake pixate:sass command generates the stylesheet from default.scss.
You could specify the Sass output style through style environment variable. For example,
$ rake pixate:sass style=compressed
You could use nested, expanded, compact and compressed as output style.
REPL
Pixate gem provides "style" method in REPL. You could change the stylesheet at the moment in REPL. For example,
(main)> style "button { color : blue; }"
(main)> style "button { background-color: red; border-radius: 20pt; }"